Etching Process for Copper:
(Repeat etched line process until the desired print is pulled.)
Aquatint Etching Process:
(Repeat scraping and burnishing until the desired lightness and variation in value is achieved.)
Once the copper plate prints as desired, it is time to print the full addition.
If the print is heavily aquatinted, the edition will be small because the plate lightens slightly everytime it is run through the press. It can only be successfully printed about 10 to 12 times.
- Coat a 16 or 18 gauge copper plate with hard ground(a solution of asphaltum and solvents) and allow to dry completely.
- Draw into the hard ground using an etching needle(a tool with a sharp point that exposes the copper plate through the hard ground).
- Place the copper plate into ferric chloride. Allow it to etch for a specific amount of time(depending on the depth and darkness of the desired lines drawn into the hard ground).
- Rinse off the ferric chloride and remove the hard ground with odorless mineral spirits.
- Ink up the plate. [Coat the plate with etching ink. Wipe it with a stiff cloth called tarlatan(which pushes the ink into the etched lines and removes it from the high points on the plate)].
- Place the inked plate on the bed of an etching press.
- Blot a piece of printmaking paper that has been soaking in water. Place it over the inked up plate on the press bed.
- Run the plate through the etching press with very high pressure.
- Pull the paper off the plate and place somewhere to dry.
(Repeat etched line process until the desired print is pulled.)
Aquatint Etching Process:
- Take the copper plate with the etched design and mist it with spray paint and allow to dry completely.
- Place the copper plate in the ferric chloride for the desired amount of time depending on the desired darkness of the print.
- Selectively scrape and burnish the copper plate to create light areas where ink won’t go.
- Ink up the plate. Blot the paper. Run it through the etching press with high pressure. Pull the print off the plate and allow it to dry.
(Repeat scraping and burnishing until the desired lightness and variation in value is achieved.)
Once the copper plate prints as desired, it is time to print the full addition.
- Ink up the plate.
- Blot the paper.
- Run the plate through the etching press with high pressure.
- Pull print off the plate.
- Repeat as many times as desired.
If the print is heavily aquatinted, the edition will be small because the plate lightens slightly everytime it is run through the press. It can only be successfully printed about 10 to 12 times.
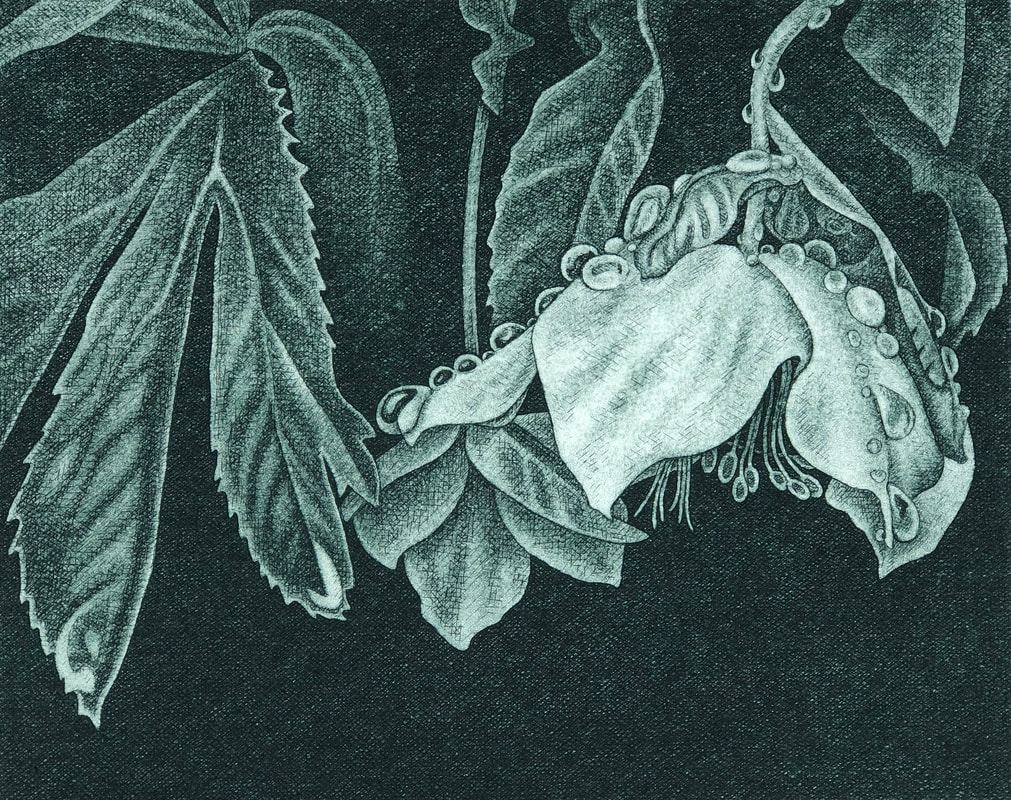
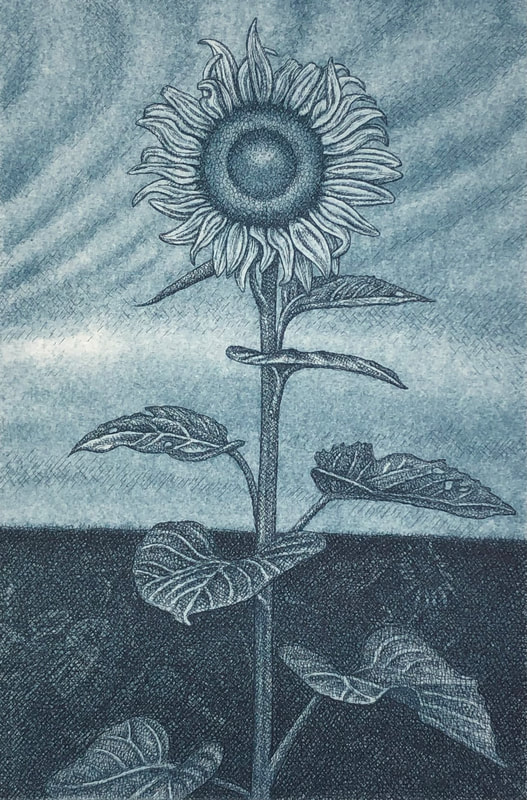
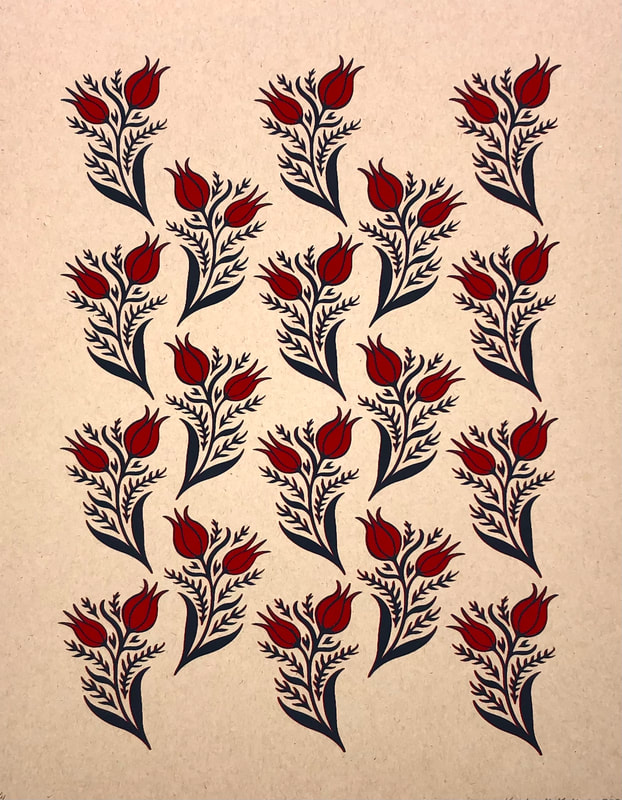
Copper Etching $175.00
Copper Etching $225.00
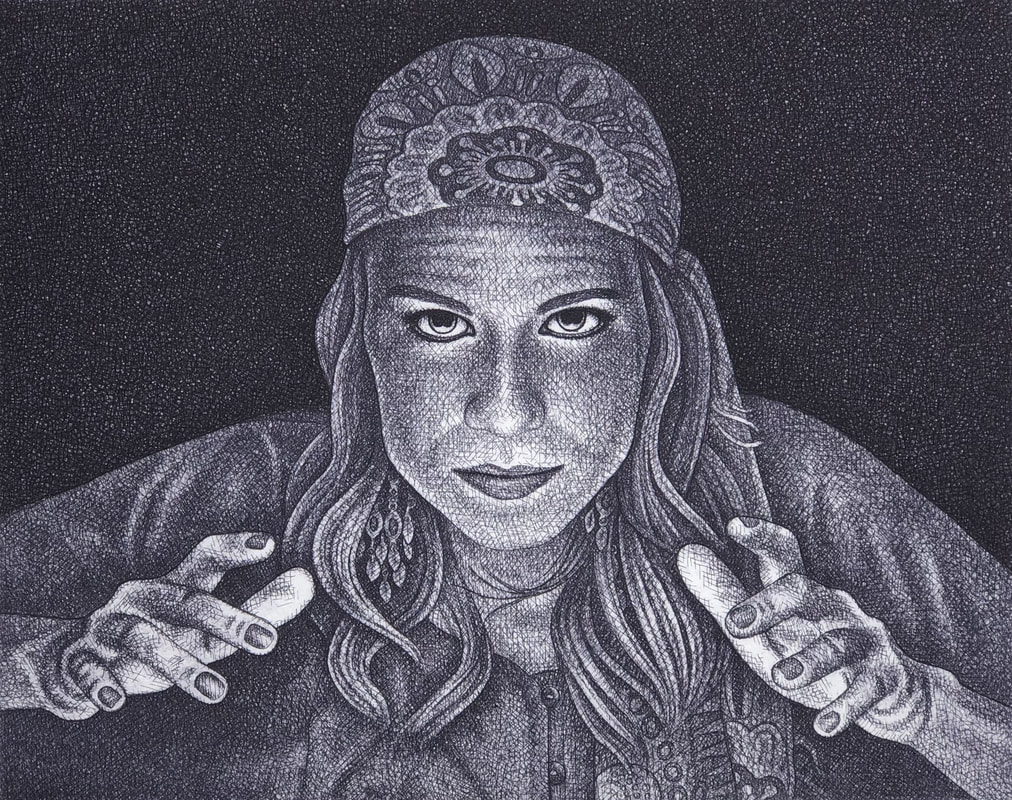
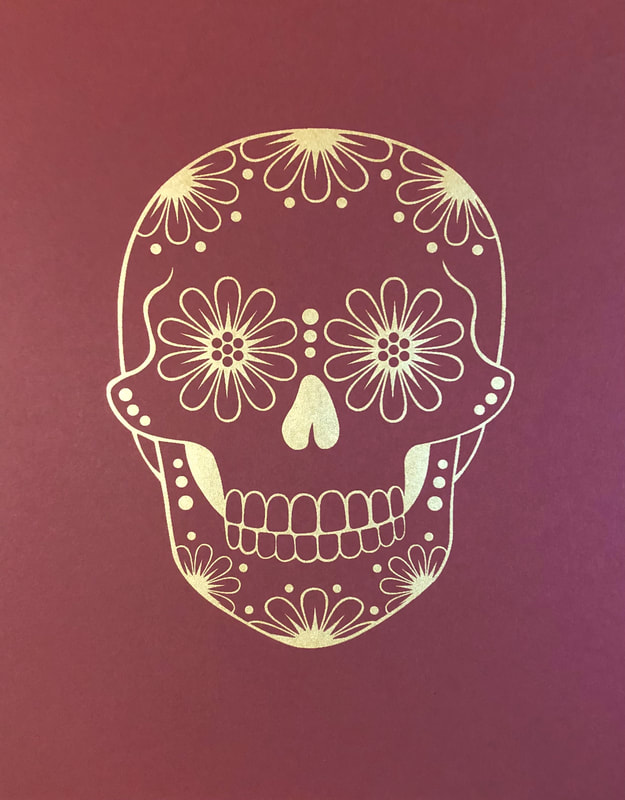
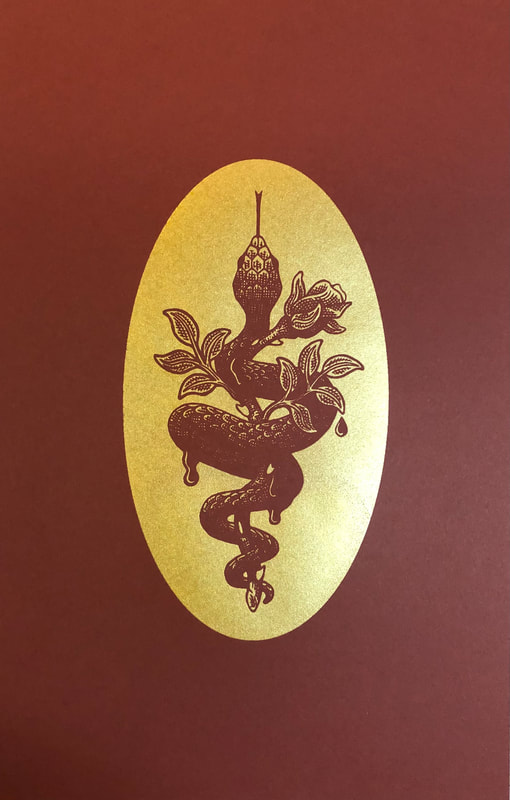
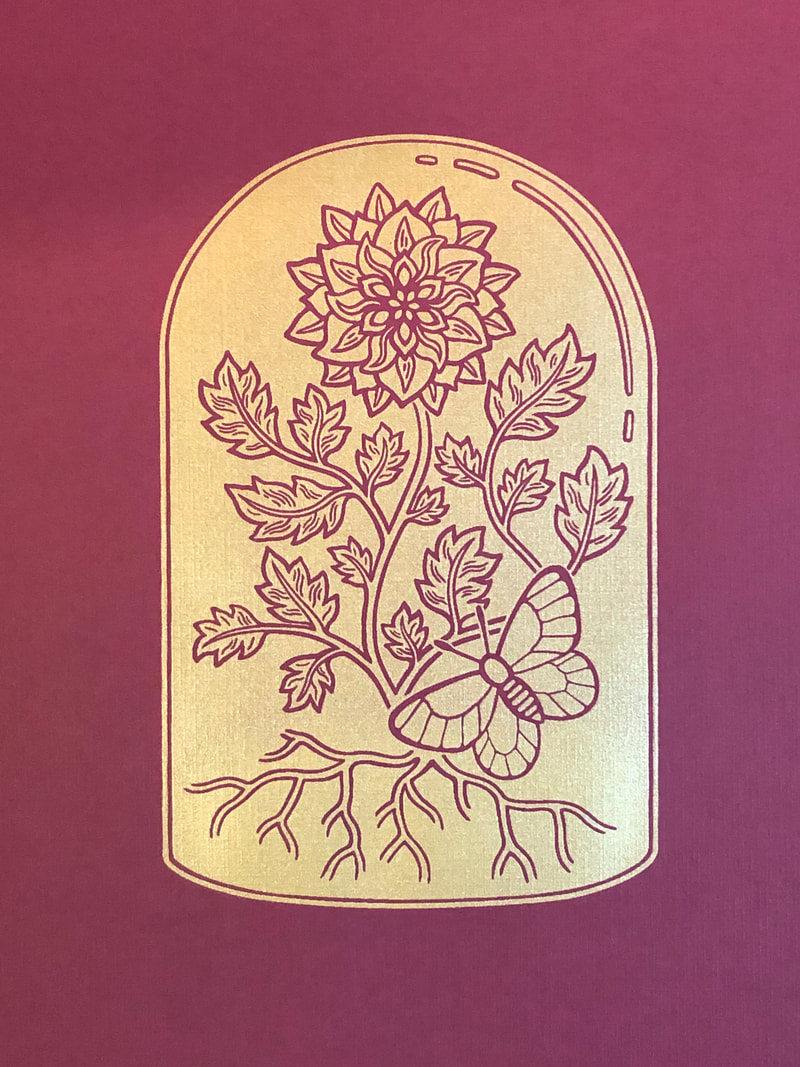
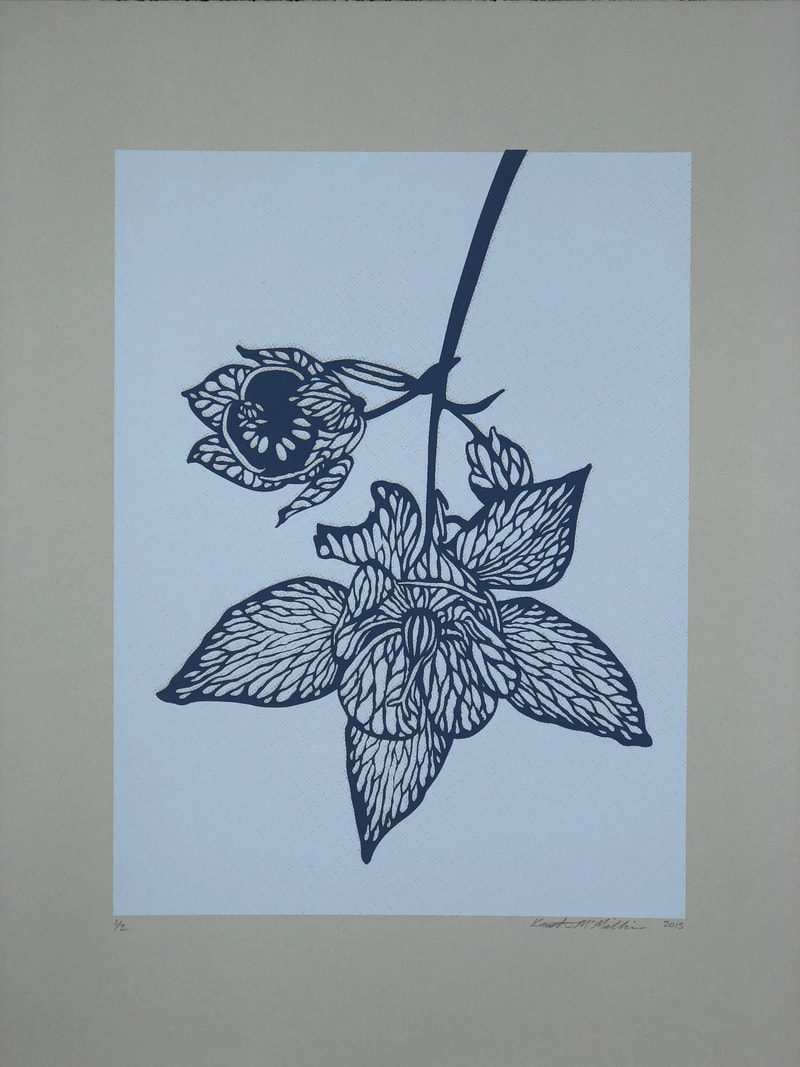
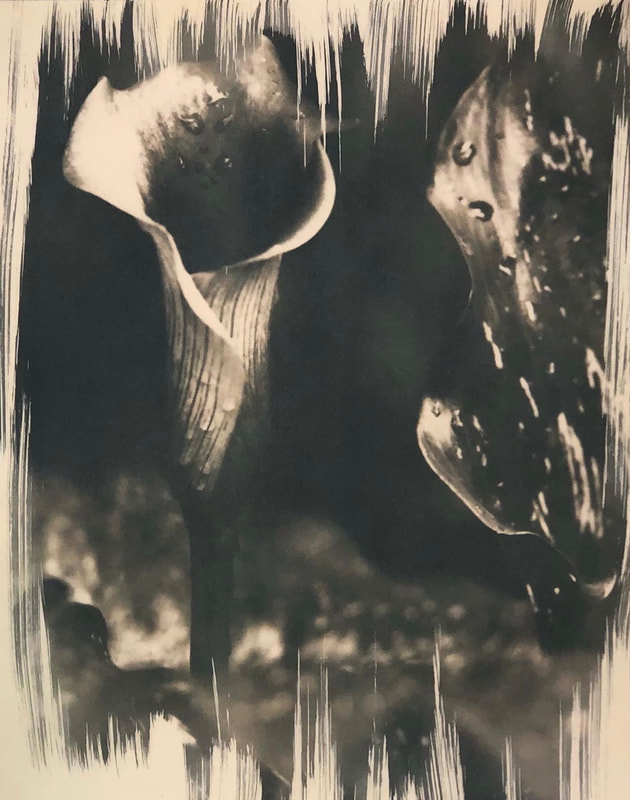
Copper Etching
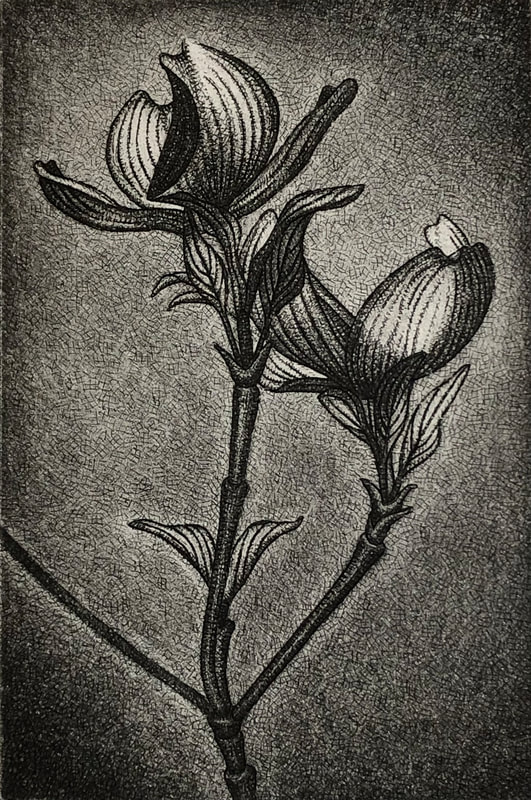
Copper Etching
|
Copper Etching $100
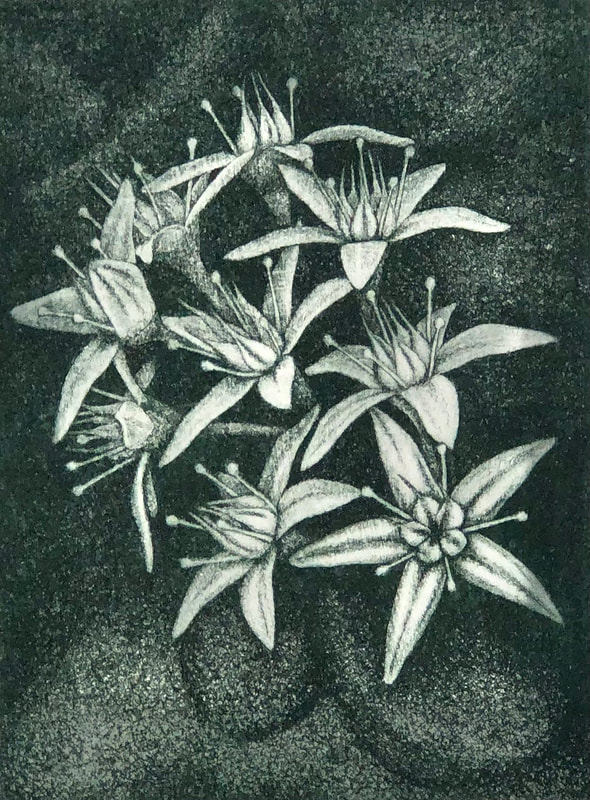
Copper Etching $125.00
|
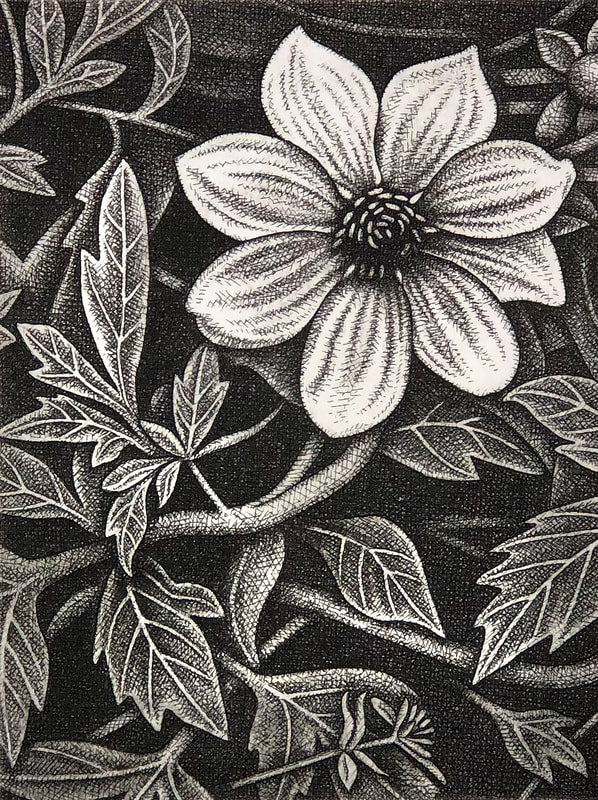
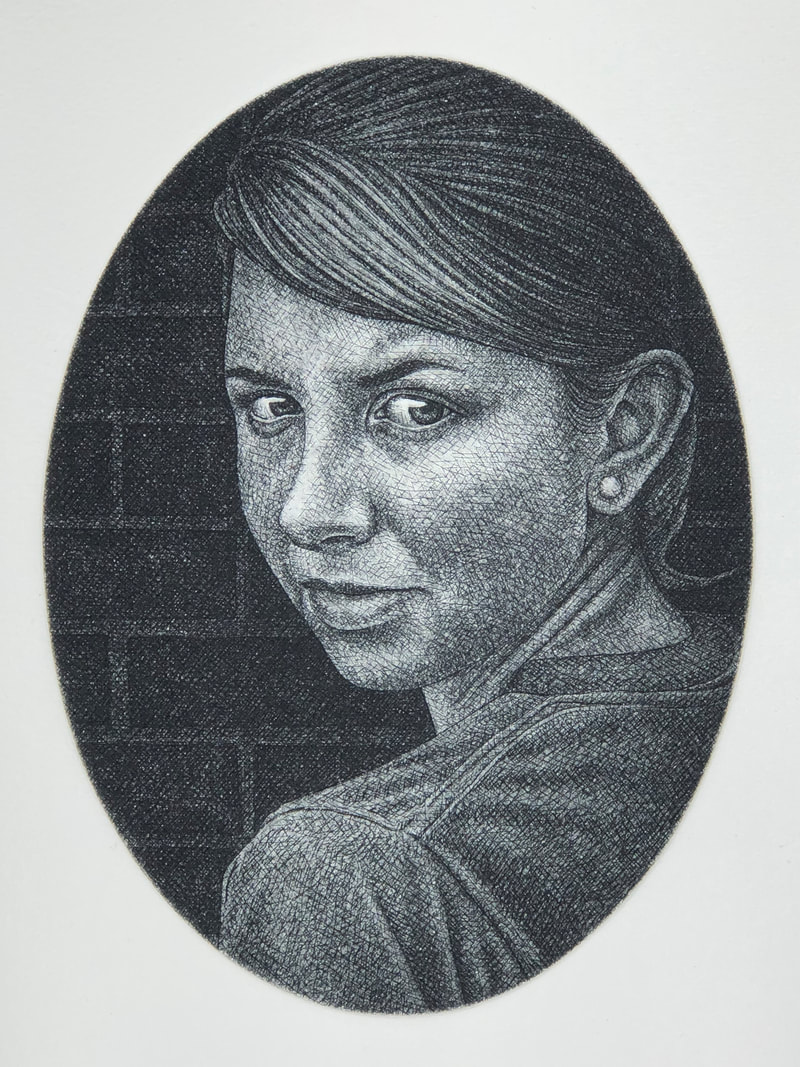
Copper Etching
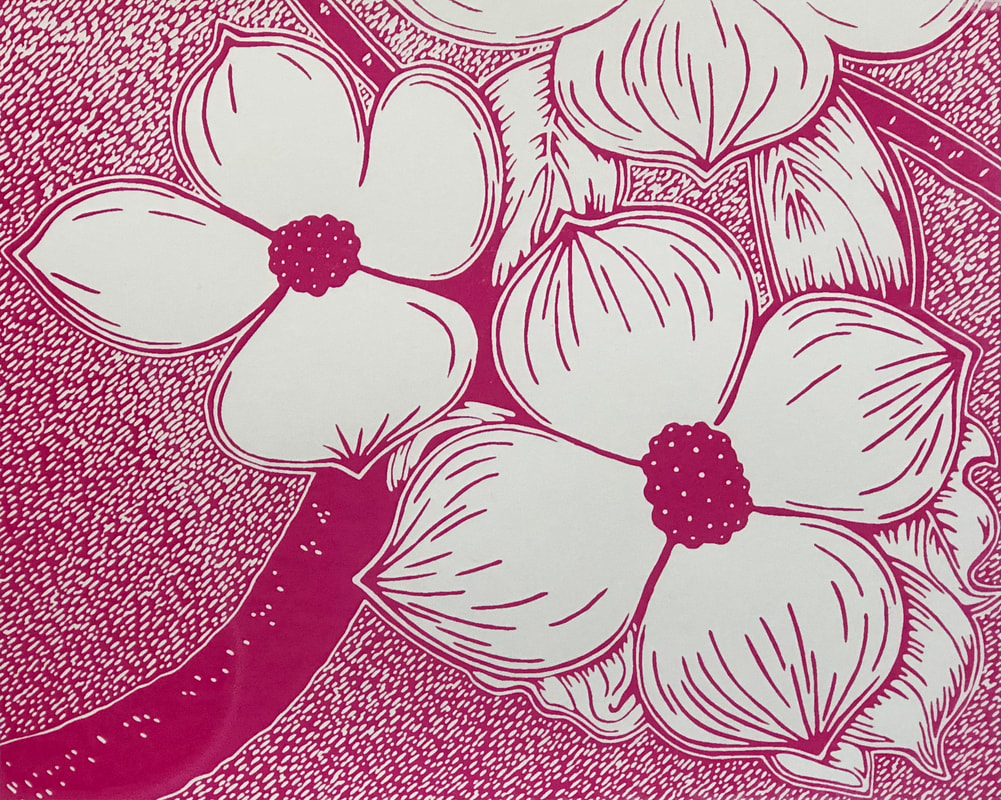
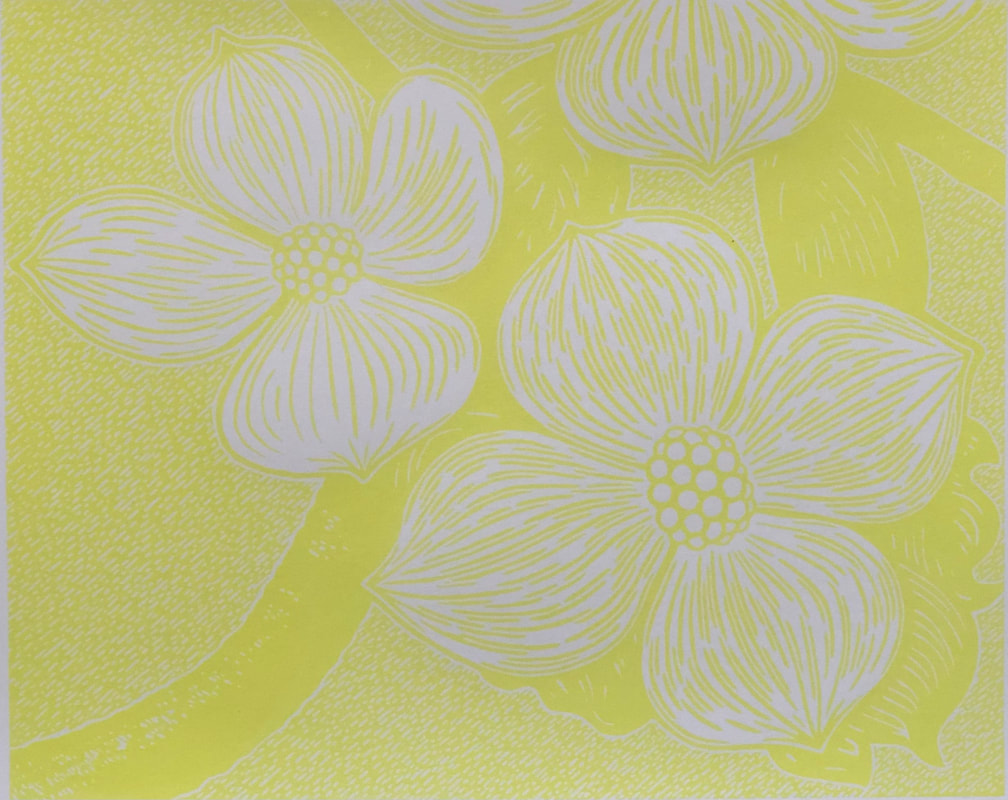
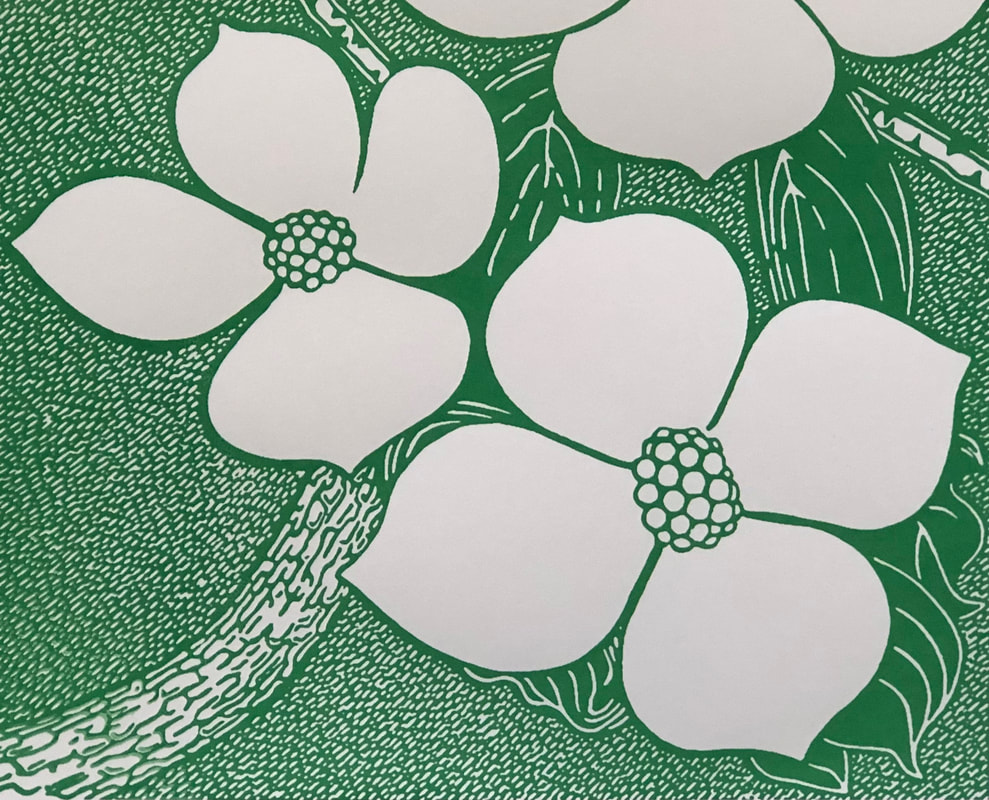
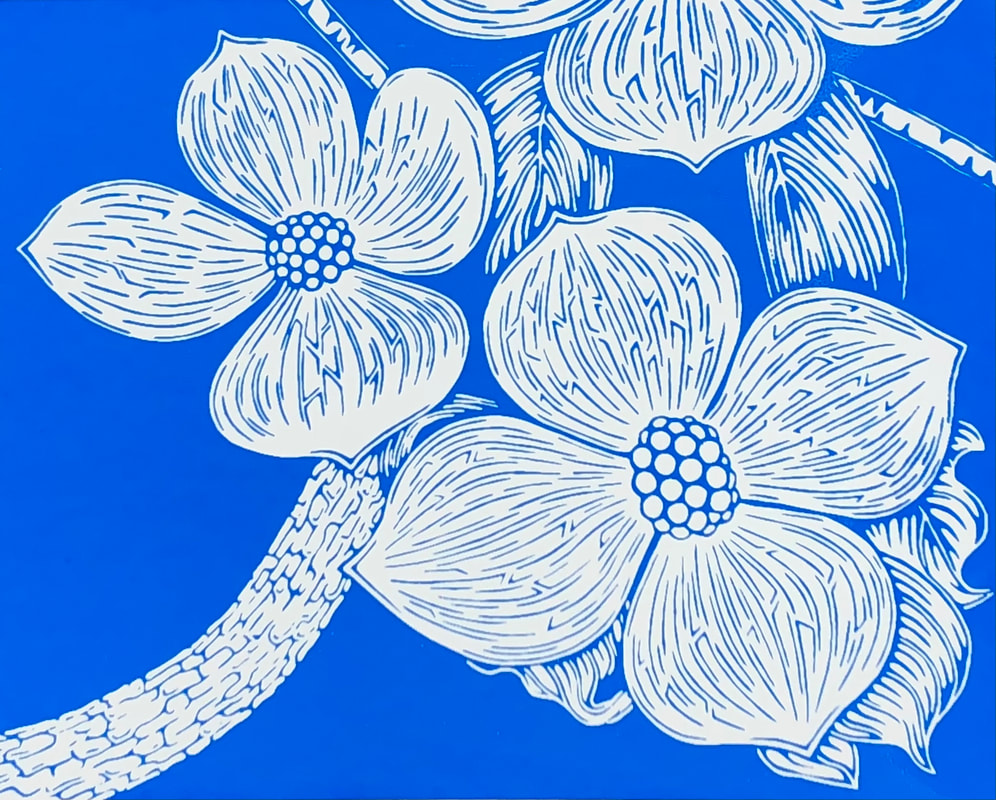
Screenprinting Process
Start by preparing and exposing the screen
Start by preparing and exposing the screen
- Apply photo sensitive emulsion to the screen using a scoop coater.
- Allow emulsion to dry thoroughly.
- Expose the screen in an exposure unit to burn the design into the emulsion.
- Wash out the unexposed emulsion.
- Once the screen is dry, it is ready to print.
- Pour a generous amount of serigraphy ink on the screen.
- Flood the screen with a squeegee.
- Then pull the ink through the screen onto the substrate/paper/fabric/etc using the squeegee.
- Allow to dry completely.
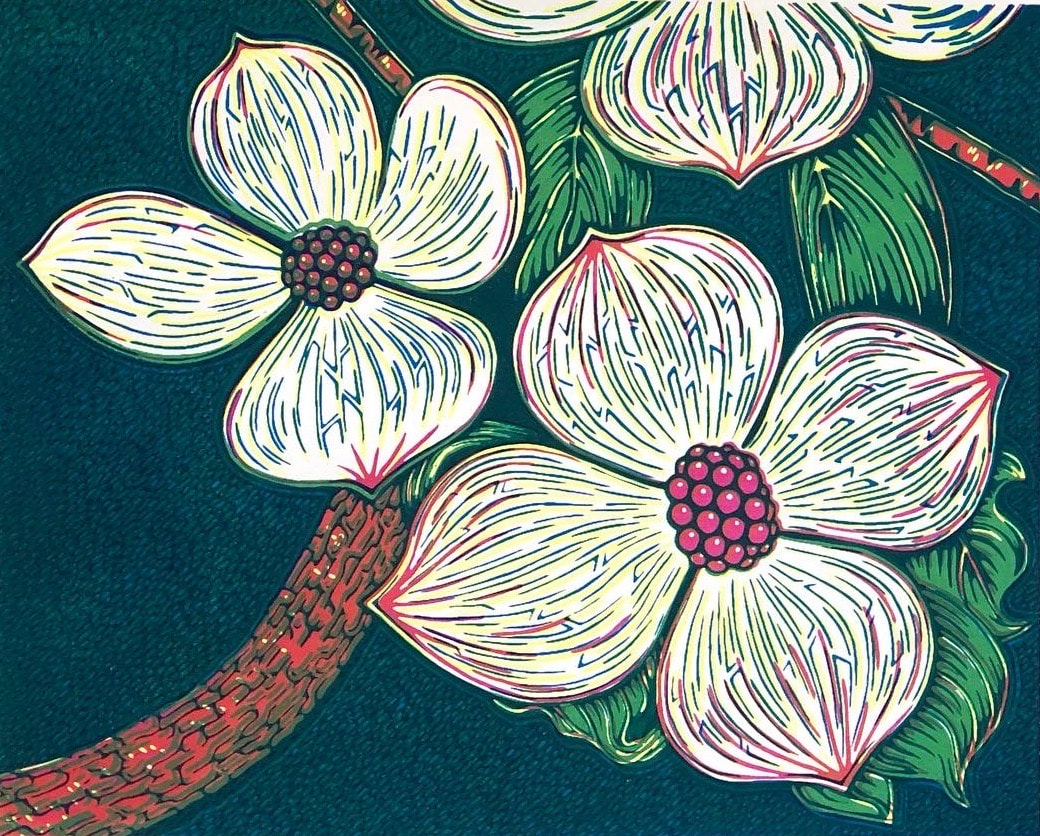
Four Color Screenprint
First Screen
|
Second Screen
|
Third Screen
|
Fourth Screen
|
Two Color Screenprint
|
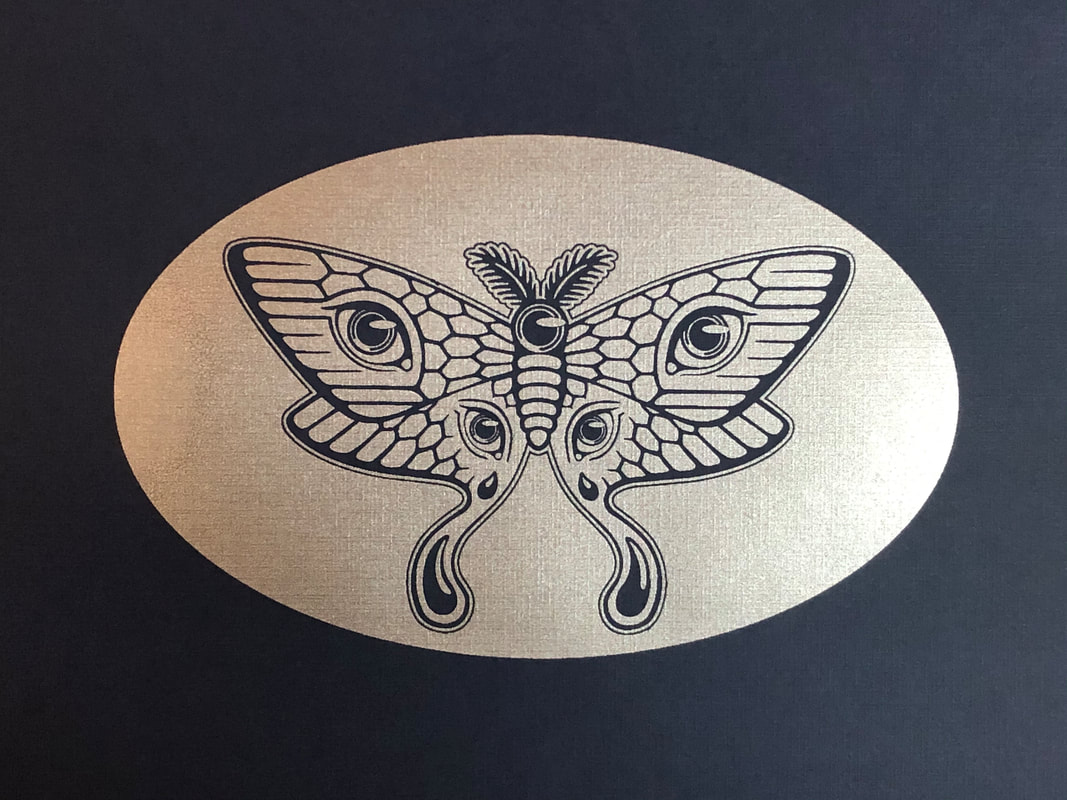
Screenprint
|
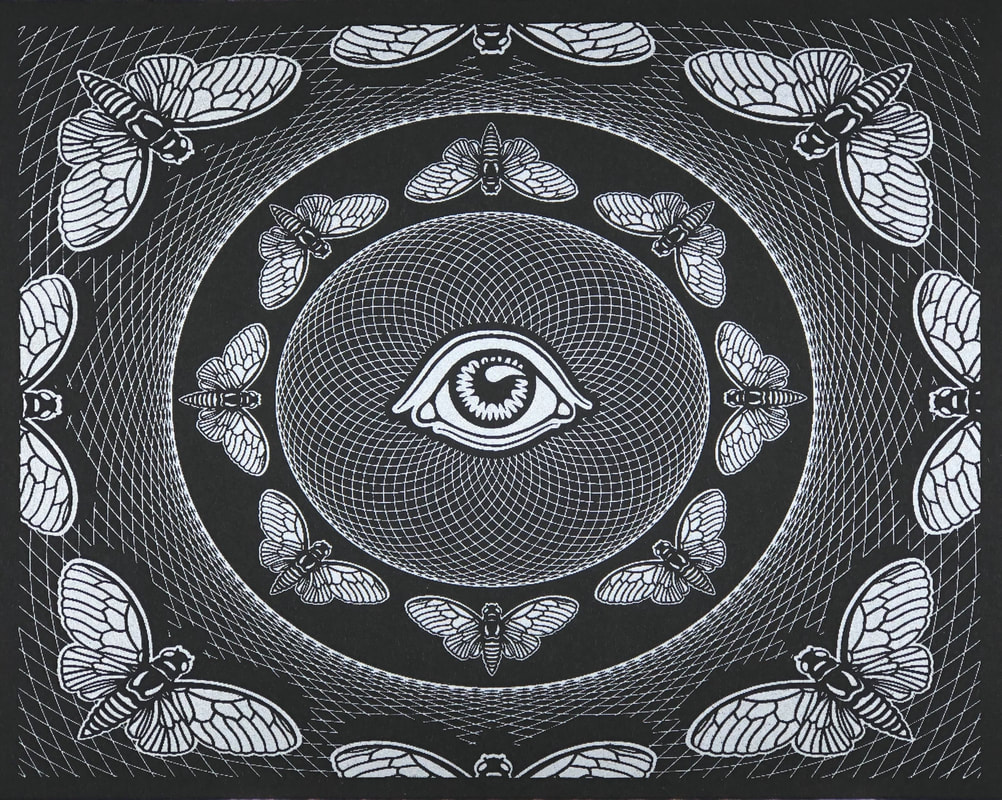
Screenprint
|

Screenprint
|
Screenprint
|
Two Color Screenprint
|
Screenprint
Screenprint
Cyanotype Process
Toning Cyanotypes Process
- Coat a piece of paper with cyanotype chemicals (a combination of solutions of ferric ammonium citrate and potassium ferricyanide with water) using a paint brush. Allow it to dry completely in a dark space (I work in my basement with the windows blocked out and only a few tungsten bulbs to light the area while I coat the paper).
- I sandwiched the coated paper between glass, a black and white negative of the sunflower image, and a hard board.
- Expose in sunlight for 5 to 7 minutes. (The time is approximate because it depends on the time of day, number of clouds, and time of the year.)
- Rinse the paper thoroughly in water. Allow it to dry completely.
Toning Cyanotypes Process
- An overexposed cyanotype is placed in a mild solution of sodium carbonate.
- It is rinsed thoroughly with water to remove the sodium carbonate solution.
- Then placed in a strong solution of coffee or tea for 30-60 minutes.
- It is rinsed thoroughly with water one last time to remove the excess coffee/tea.
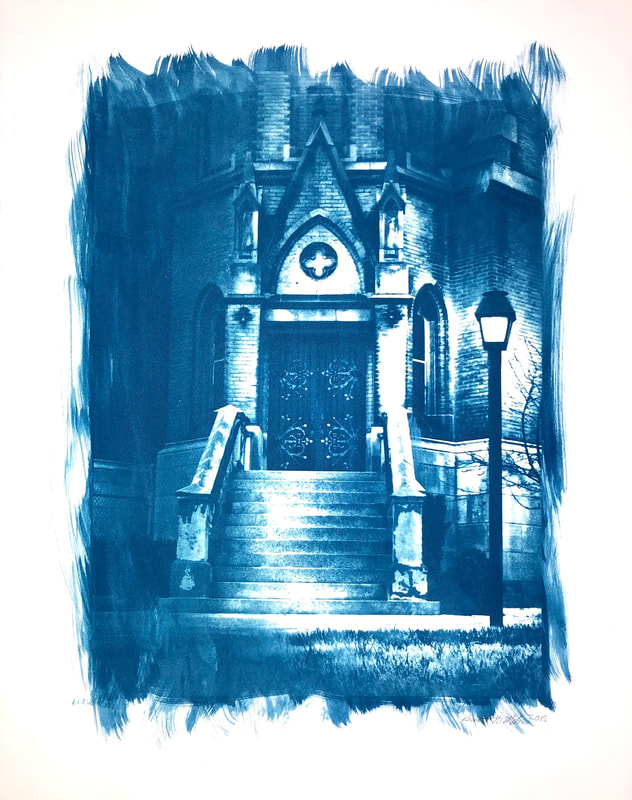
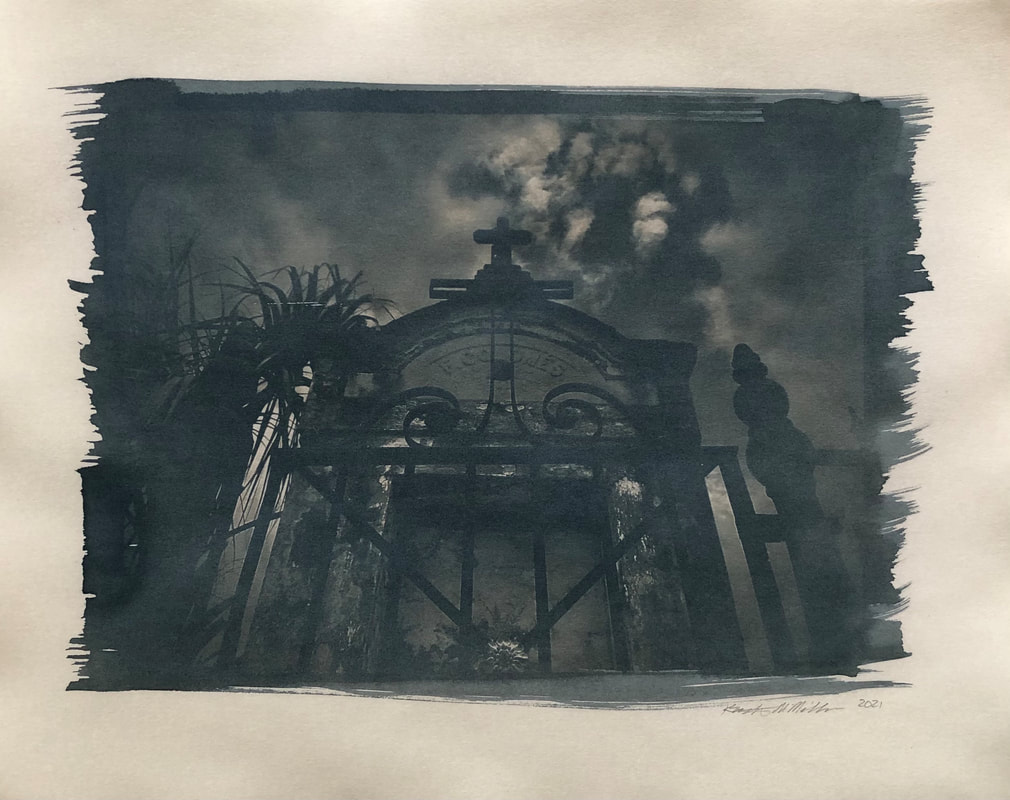
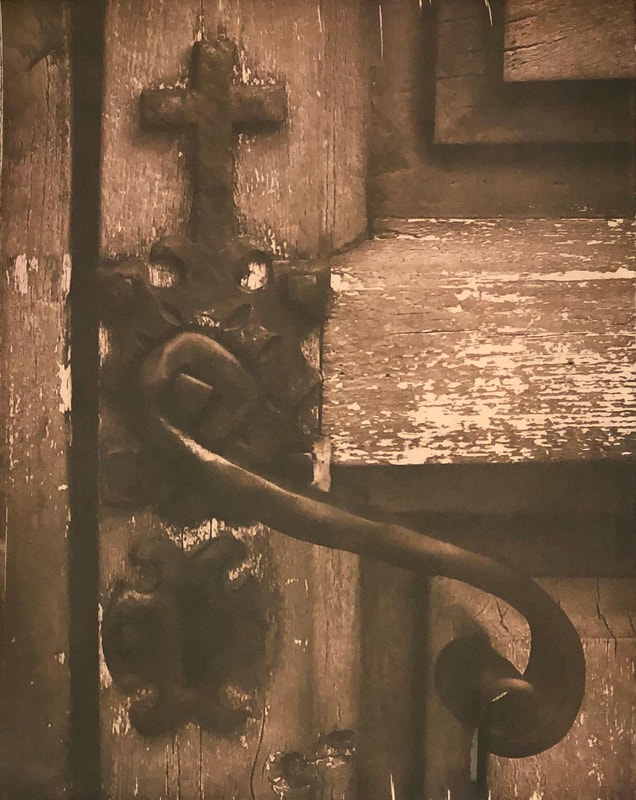
"Dark Church" Cyanotype
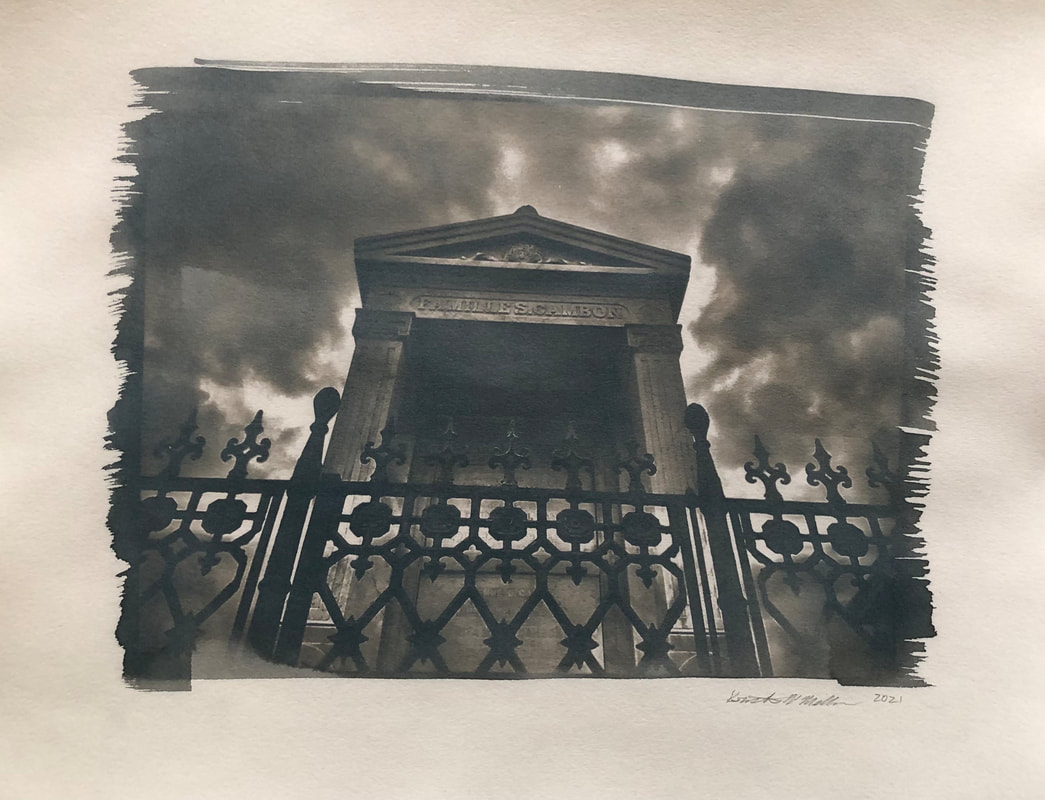
Coffee Toned Cyanotype
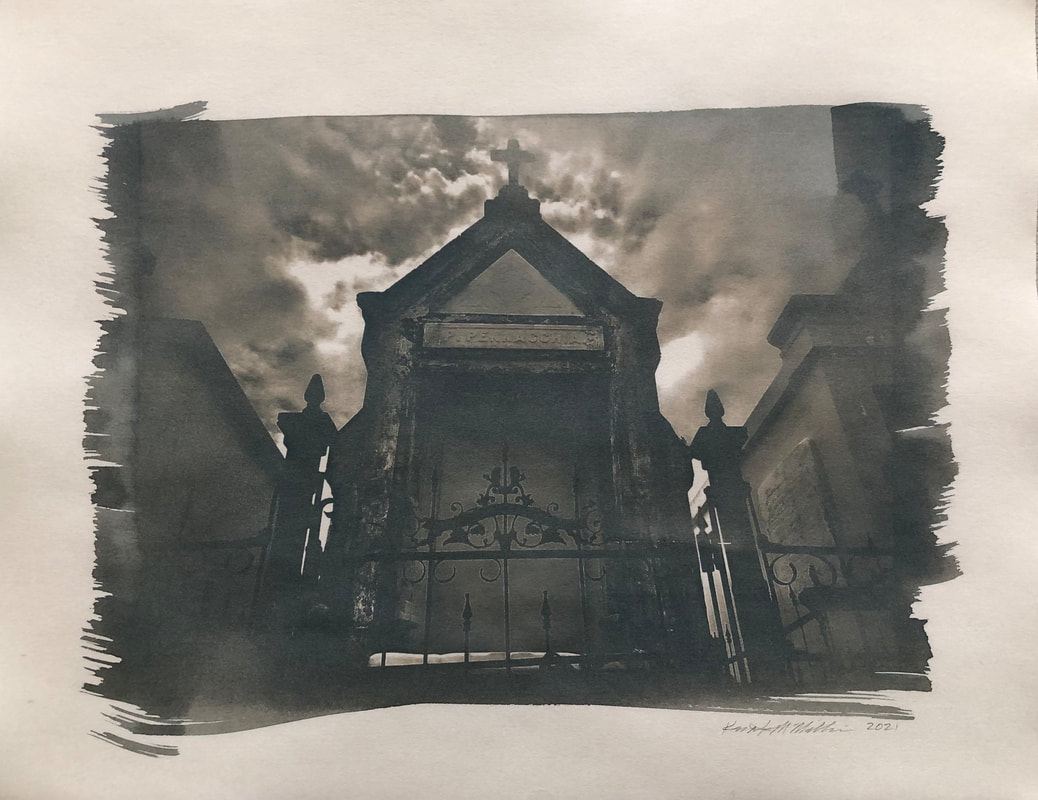
Coffee Toned Cyanotype
Coffee Toned Cyanotype
Coffee Toned Cyanotype
|
Coffee Toned Cyanotype
|
Black Tea Toned Cyanotype
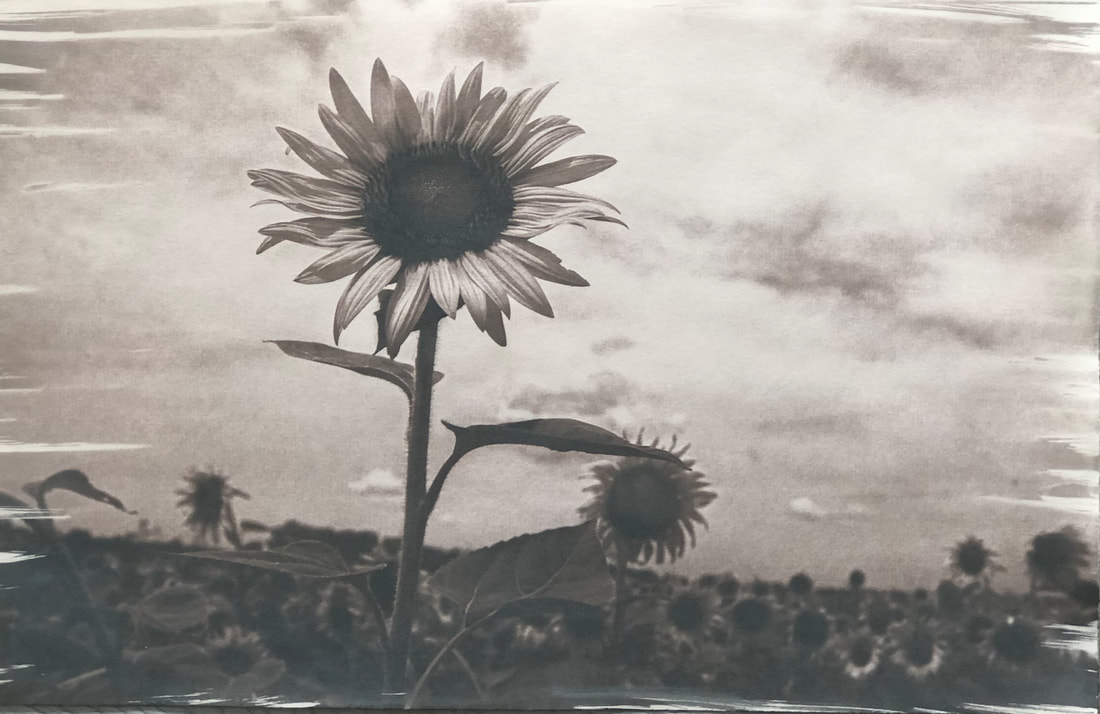
Coffee Toned Cyanotype
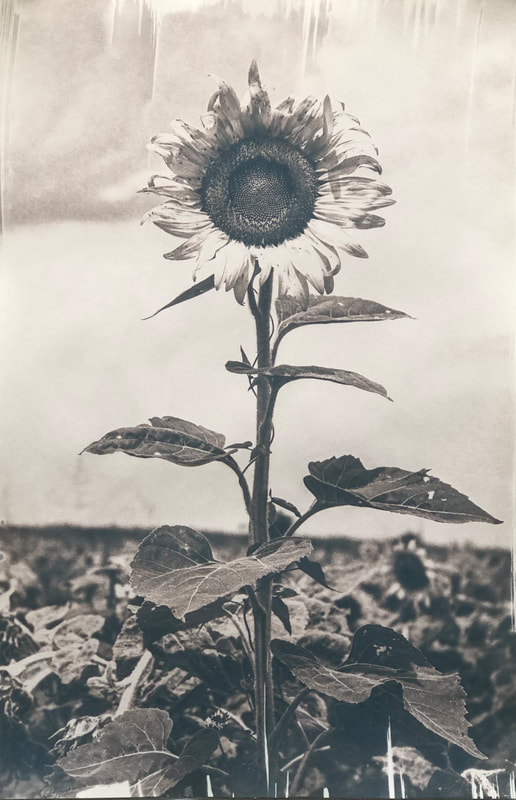
Coffee Toned Cyanotype
Coffee Toned Cyanotype
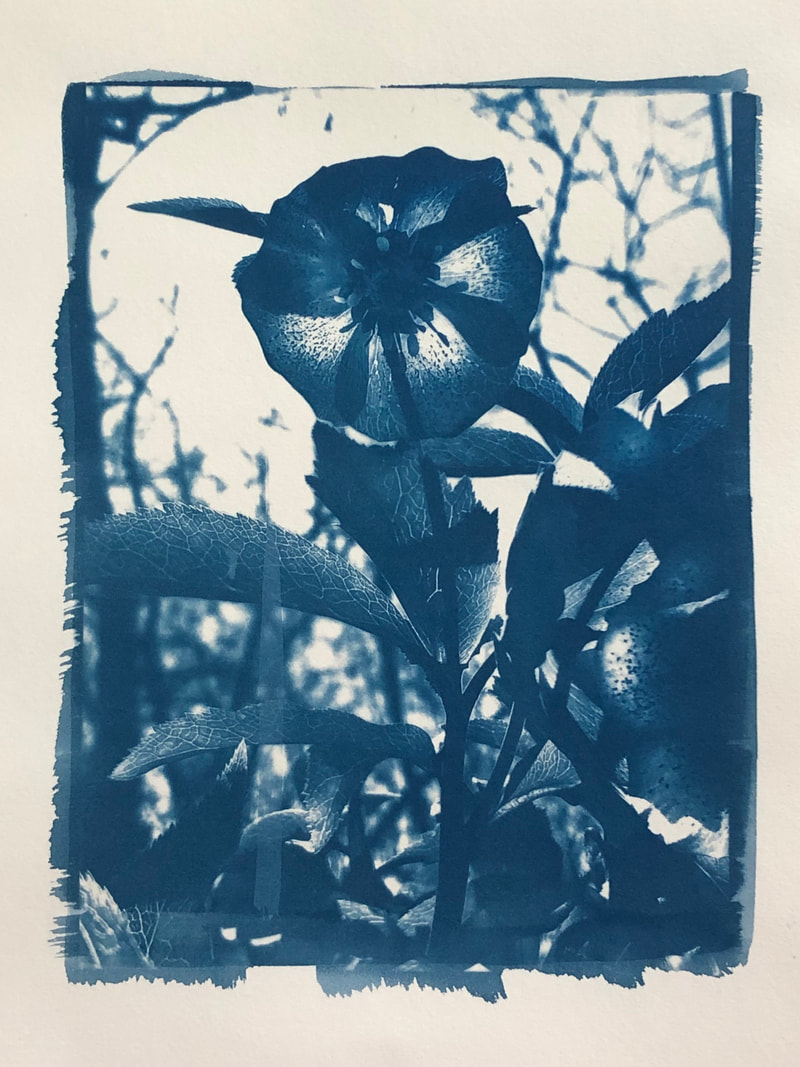
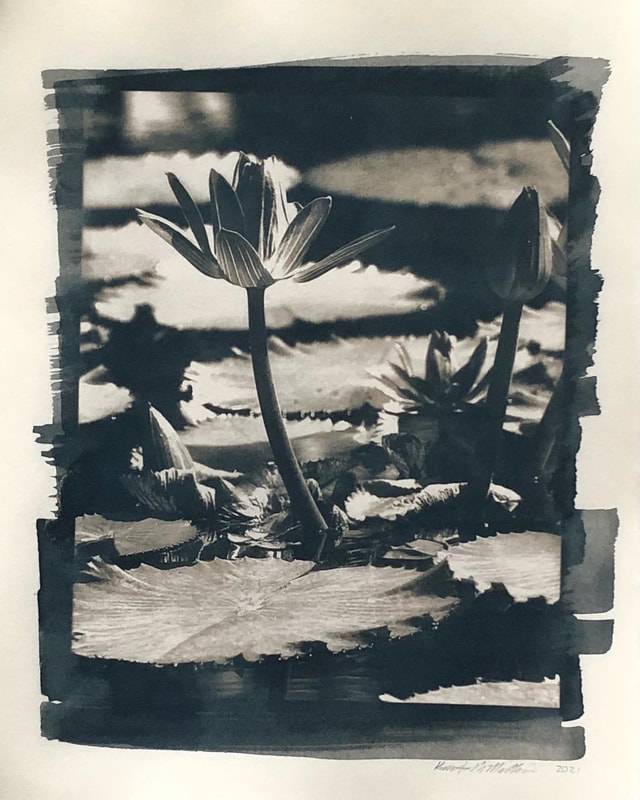
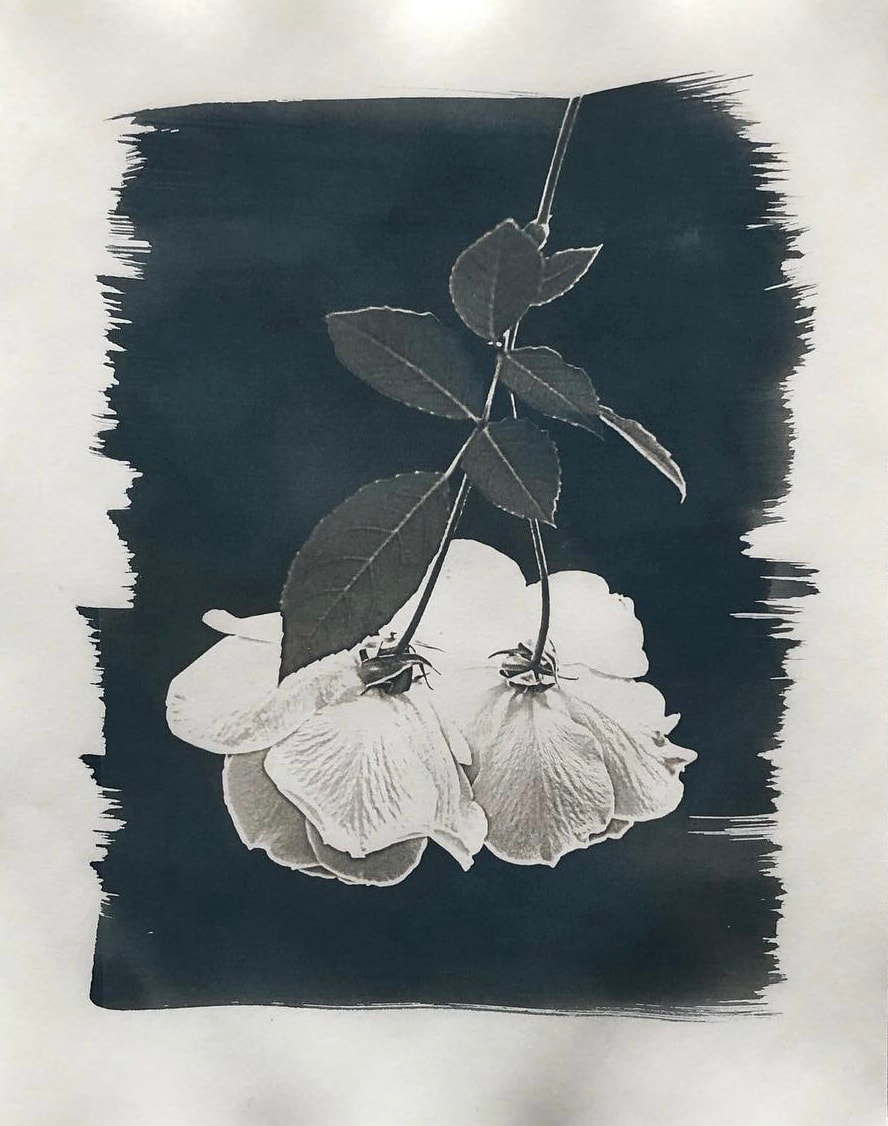
Cyanotype
|
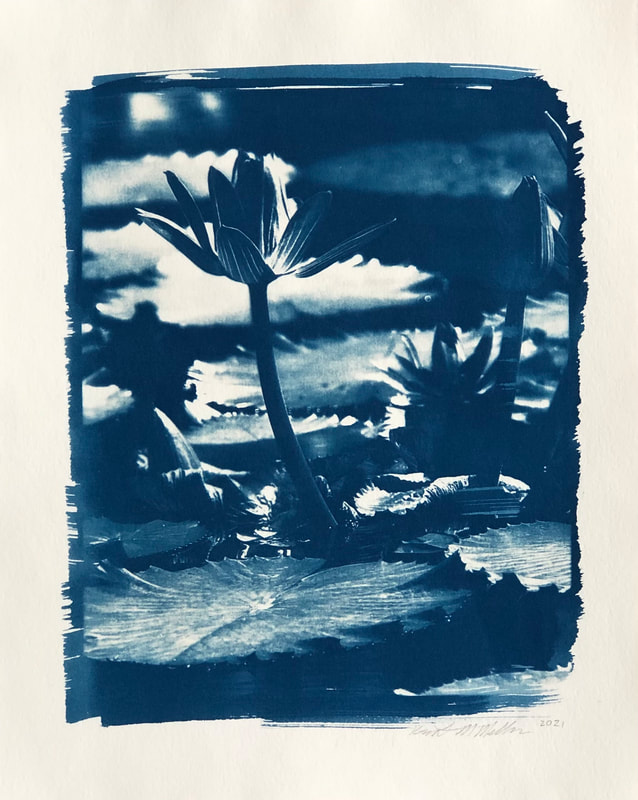
Cyanotype
|